Coding material to cases
Coding to a case - manual approach
In this example project, we are most interested in people who have both a 2016 interview and took part in the 2015 pre-election FGDs.
Now that we have established our cases, we will link the responses of the 14 people interviewed in 2016 with their data from the 2015 pre-election focus group.
So, we will link the interview transcript of Walt:
with Walt’s data from the focus group he took part in:
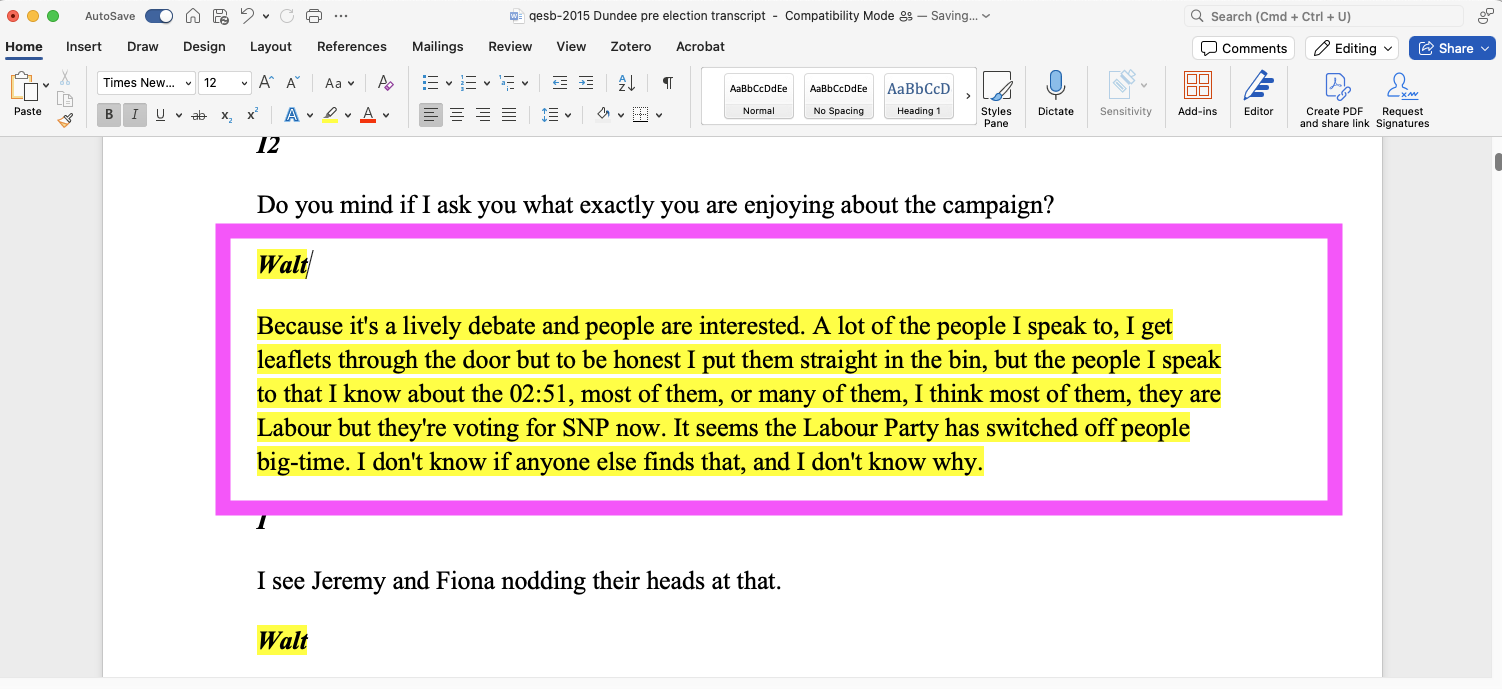
To do this, we need to go into each focus group transcript, search for responses from Walt, and manually code this to Walt’s case.
Steps to do this manually
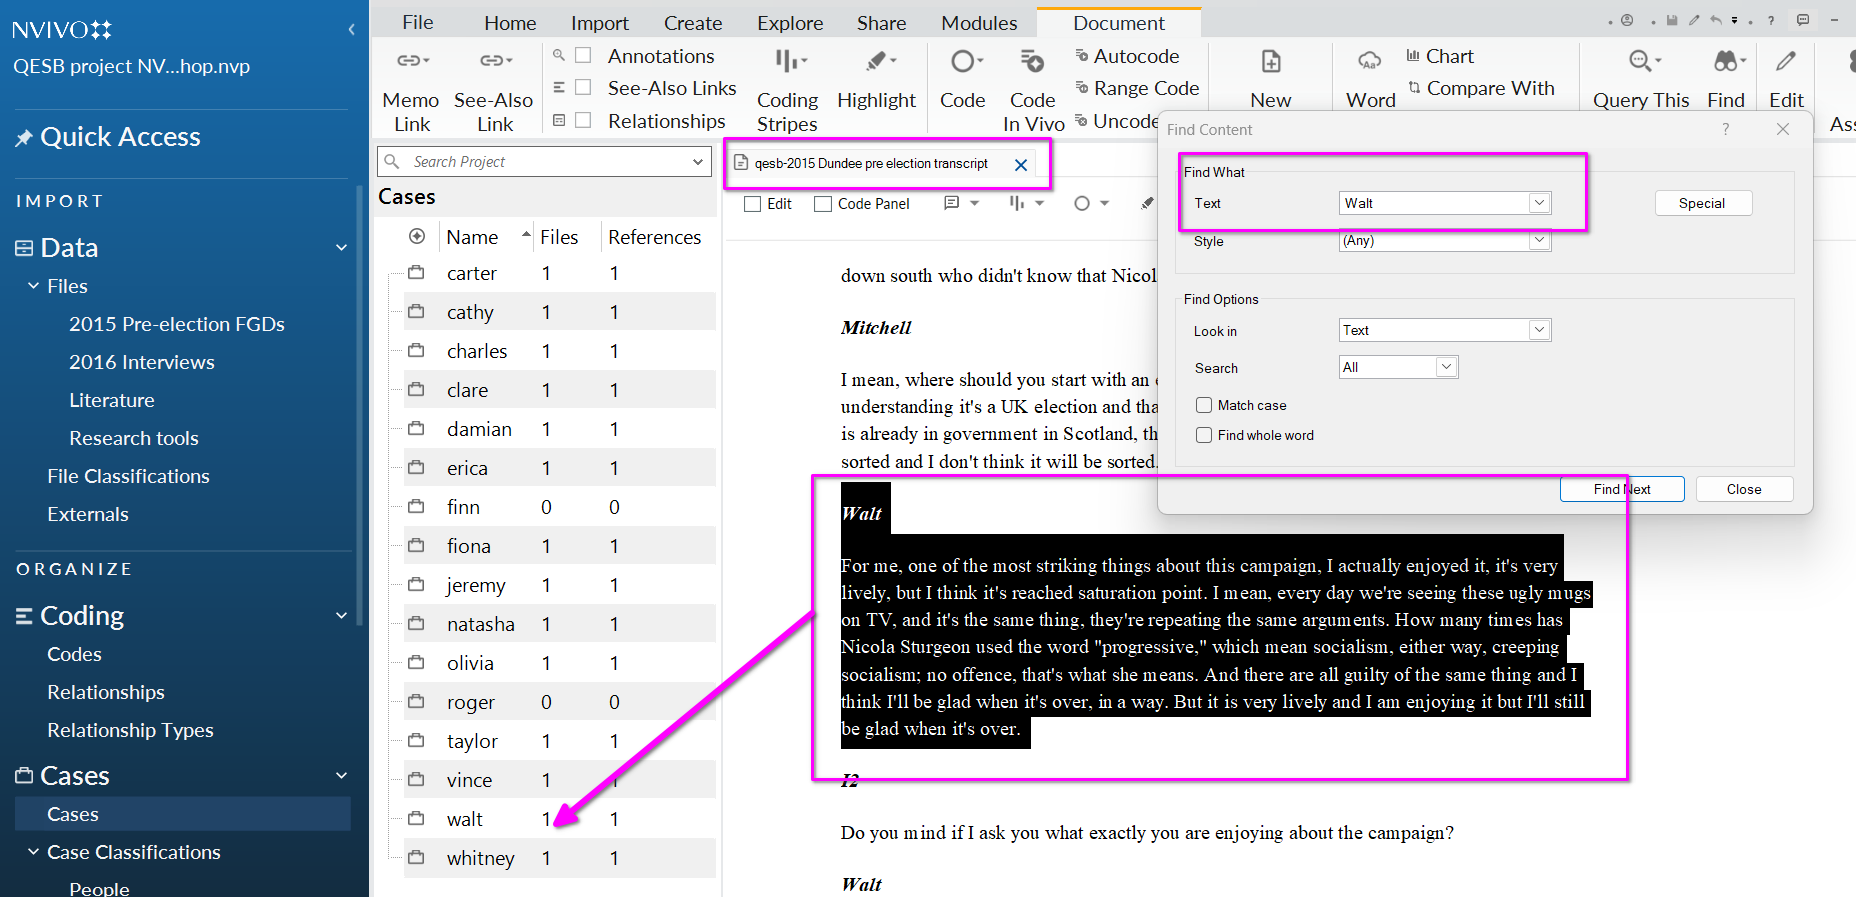
- Open the 2015 Dundee pre-election focus group in your Detail View, and have Cases, People in your List View.
- In the focus group data, use Ctrl+F (find) to search for responses from Walt.
- Highlight the text and drag it across to Walt’s case in the list view. NB. It may be useful to highlight the preceding moderator’s question/prompt that Walt is responding to.
- You can double click on Walt’s case to check it’s been coded correctly.
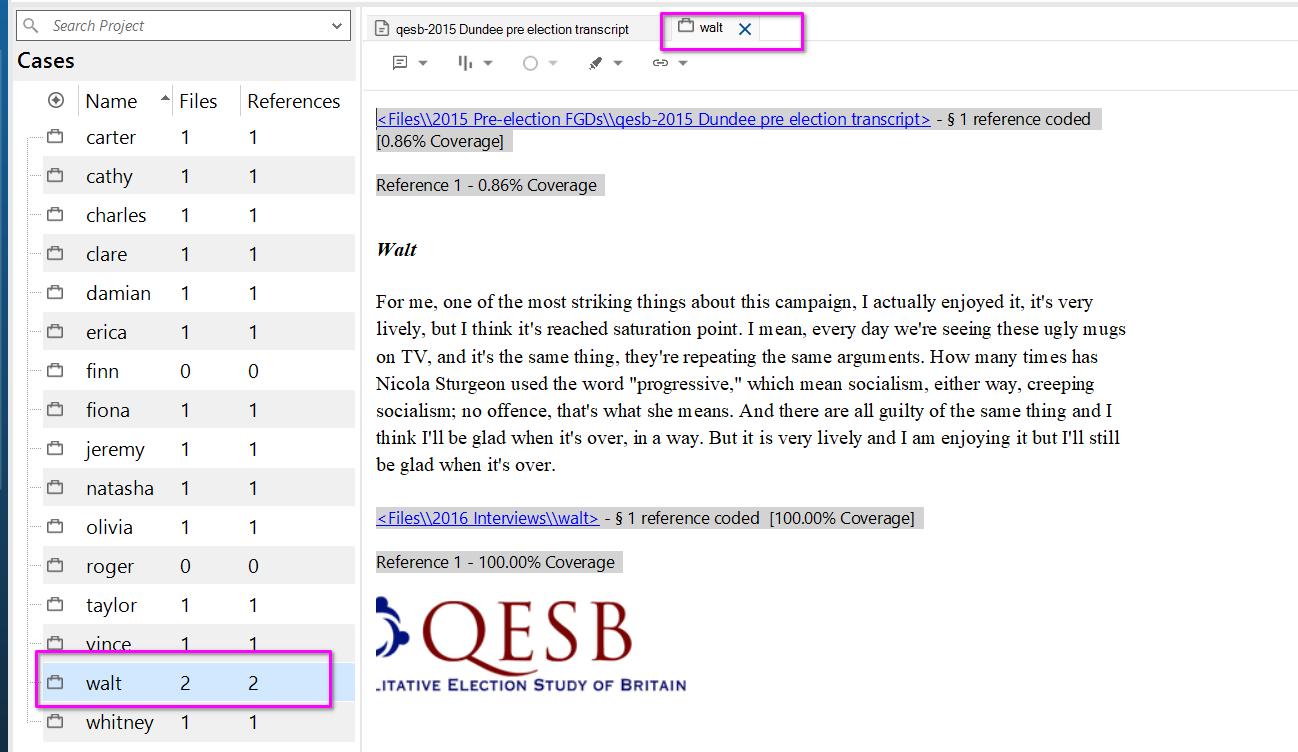
Then you would cycle through manually for all instances of Walt’s response in the focus group transcript, then repeat for other participants.
Coding to a case- using autocoding
While this is quite accurate, doing this manually gets really repetitive!
Luckily, autocoding can help speed it up.
However, for this to work, you must remember to format the transcripts appropriately in Word before uploading them into NVivo.
We will look at how to do this using our focus group discussions, and sort speakers to their cases.
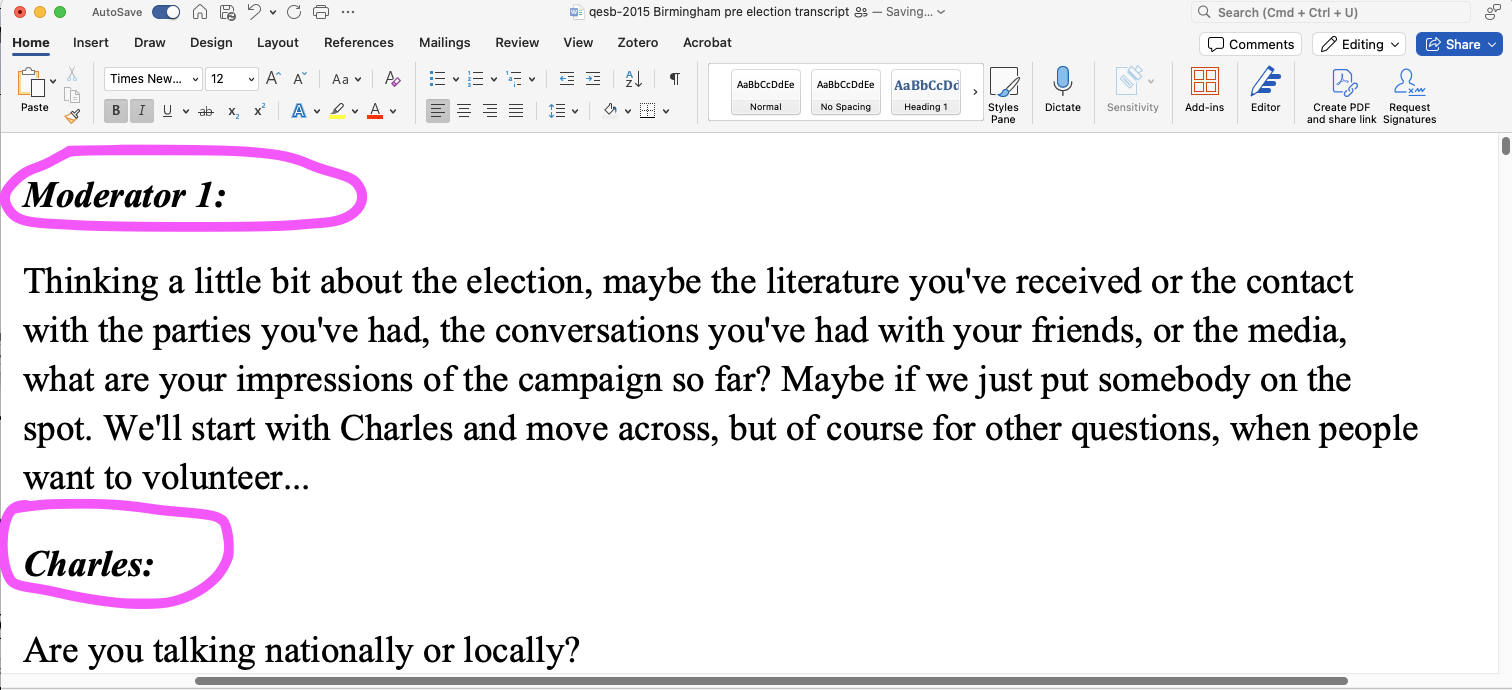
IMPORTANT: format of transcripts is crucial here. To use this feature, you need to format your transcript with each speaker’s name at the beginning of a line, without any preceding characters. The speaker name can be on the same line as the response or on a separate line above it, as long as it’s at the start of the line. You can also use a table format with the speaker name in the left column and the response in the right.
For example, the transcripts should have the speakers’s name at the start of the line- anything below that would be picked up as their speech.
![]()
Our transcripts are correctly formatted so it should work :-) !
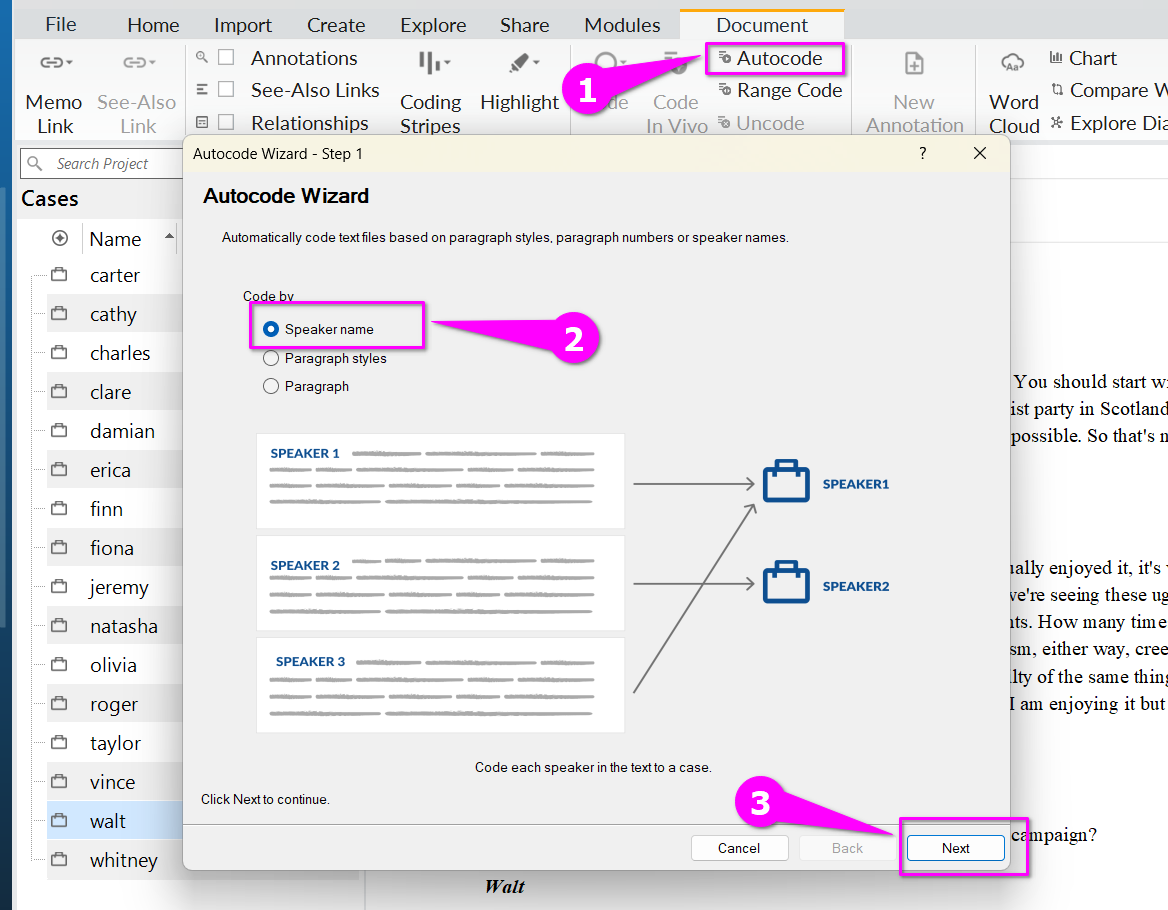
- Continue with Dundee 2015 pre-election focus group discussion file and select ‘autocode’ from the ribbon.
- In the autocode wizard, select speaker name and click next.
NB. NVivo for macOS: On macOS, this is just a one-step menu.
- In the autocode wizard, input all the speaker names from the transcript.
- You can either scroll through the text and insert the names one by one, or you can make a list of all speakers ahead of time and copy them in one by one.
- As you insert each name, the relevant text following their name will change color throughout the transcript. This is pretty helpful! It gives you a preview of what autocoding will do.

But BEWARE: the autocode algorithm is accurate at picking up when a speaker’s name is at the start of a line of text. But, as can see above in green, sometimes this happens for another reason, like when the focus group interviewer asks them a question.
This isn’t what we want! This highlights the importance of pre-formatting the transcript in Word so that autocode works as intended.
We need to take another approach. Press cancel to exit the autocode wizard.
Autocoding using a properly formatted transcript
Let’s start the process again using the Birmingham FGD.
Notice that in the Birmingham transcript, every time a person speaks it is followed by a colon:
- Open the Birmingham 2015 pre-election focus group discussion files and select ‘autocode’ from the ribbon.
- In the autocode wizard, this time enter speaker names with a colon (e.g. Charles:) and click next.
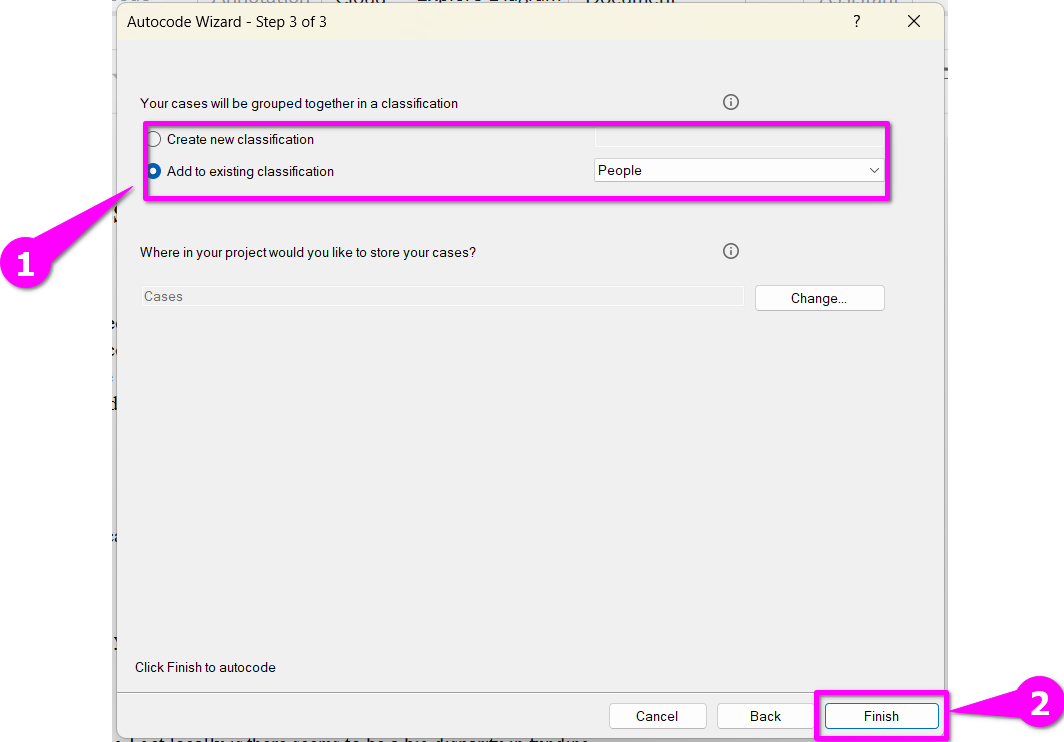
- Select Next.

- As we already have cases set up for the people we are interested in, select ‘add to existing classifications’, ‘people’ and select ‘finish’.
Check results by clicking into ‘People’:

- If you click on a case e.g. ‘charles’ you can see there are now 2 files and 38 references linked to that person (1).
- In the detail view on the right, you can see all quotes coded to Charles’ case. (2 and 3)
- Finally, you can see a summary of the % of the transcript which is coded to Charles by clicking on the ‘summary’ tab on the far right (4).
The moral of the story: autocoding can save you a lot of time in deductive category coding if you understand the algorithm and format data correctly.